
前言
HTTP/3是第三个主要版本的HTTP协议。与其前任HTTP/1.1和HTTP/2不同,在HTTP/3中,将弃用TCP协议,改为使用基于UDP协议的QUIC协议实现。
此变化主要为了解决HTTP/2中存在的队头阻塞问题。由于HTTP/2在单个TCP连接上使用了多路复用,受到TCP拥塞控制的影响,少量的丢包就可能导致整个TCP连接上的所有流被阻塞。
5月23日,Nginx推出1.25.0版本,Mainline版本合并QUIC分支,支持HTTP/3。
注意:记得在防火墙/安全组中放行对应的UDP端口,如443。
系统环境
Ubuntu 22.04.2 LTS
GCC 11.3(不能太低)
Openssl 3.0.2(据说需要1.1.1以上)
一键安装必要的依赖
sudo apt-get install openssl libssl-dev \
libpcre3 libpcre3-dev \
zlib1g-dev \
libxml2 libxml2-dev libxslt-dev \
libgd-dev \
libgeoip1 libgeoip-dev
编译安装
下载Nginx-1.25.1源码到服务器并解压,切换到configure文件所在目录下(cd nginx-1.25.1/)
./configure --with-debug \
--with-pcre-jit \
--with-http_ssl_module \
--with-http_stub_status_module \
--with-http_realip_module \
--with-http_auth_request_module \
--with-http_v2_module \
--with-http_v3_module \
--with-http_dav_module \
--with-http_slice_module \
--with-threads \
--with-http_addition_module \
--with-http_geoip_module \
--with-http_gunzip_module \
--with-http_gzip_static_module \
--with-http_image_filter_module \
--with-http_sub_module \
--with-http_xslt_module \
--with-stream \
--with-stream_ssl_module \
--with-mail \
--with-mail_ssl_module \
--with-stream_ssl_preread_module
编译安装
make && make install也可以同时调用更多的内核参与这个过程,这也会消耗更多的内存,如:
make -j4 && make installNginx会被默认安装在/usr/local/nginx/目录下
创建如下软连接
ln -s /usr/local/nginx/sbin/nginx /usr/sbin/nginx之后即可正常使用nginx -s reload等命令
配置文件
为方便管理,在/usr/local/nginx/conf/目录下创建conf.d和 modules-enabled文件夹,并把/usr/local/nginx/conf/nginx.conf中的内容替换为如下内容,重要修改有以下几点:
http中的include conf.d/*.conf;和最外层的include modules-enabled/*.conf;- 在
http{}中加入server_tokens off;,以此隐藏错误页的服务器信息 - log_format和access_log,quic需要用到
- [可选]禁用了远古TLS协议,仅启用TLSv1.2和1.3
user root;
worker_processes auto;

#pid        logs/nginx.pid;
include modules-enabled/*.conf;

events {
    worker_connections 1024;
}

http {
    log_format quic '$remote_addr - $remote_user [$time_local] '
    '"$request" $status $body_bytes_sent '
    '"$http_referer" "$http_user_agent" "$http3"';

    access_log logs/access.log quic;

    include mime.types;
    default_type application/octet-stream;

    sendfile on;
    #tcp_nopush     on;

    #keepalive_timeout  0;
    keepalive_timeout 65;

    #gzip  on;

    include conf.d/*.conf;

    server_tokens off;

    ssl_protocols TLSv1.2 TLSv1.3;
    ssl_ciphers EECDH+AESGCM:EDH+AESGCM;
}
添加Systemd守护进程
控制台执行vim /usr/lib/systemd/system/nginx.service并写入以下内容
[Unit]

Description=nginx service

After=network.target

[Service]

Type=forking

ExecStart=/usr/local/nginx/sbin/nginx

ExecReload=/usr/local/nginx/sbin/nginx -s reload

ExecStop=/usr/local/nginx/sbin/nginx -s quit

PrivateTmp=true

[Install]

WantedBy=multi-user.target输入:wq保存,之后配置开启自启动
systemctl enable nginx启动Nginx服务
service nginx start查看服务状态
service nginx status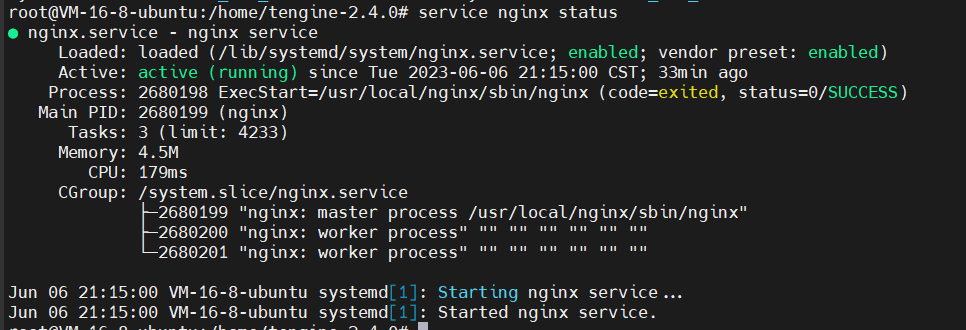
编译安装Nginx到此结束
HTTP/3反向代理
下面以Docker+Nginx的方式部署一个WordPress站点,并启用HTTP/3
注意:按以下HTTP/3方式部署的WordPress未经严格测试,可能出现意想不到的问题
首先参考HTTP/1.1 with TLS部署方式
在此基础上,修改Nginx的配置文件
server {
    listen 443 ssl;
    listen 443 quic reuseport;
    server_name example.colorfulstage.cn;

    ssl_certificate /.../fullchain.pem;
    ssl_certificate_key /.../key.pem;
    ssl_trusted_certificate /.../fullchain.pem;
    ssl_stapling on;
    ssl_stapling_verify on;

    http2 on;
    http3 on;

    # HSTS
    add_header Strict-Transport-Security "max-age=31536000;includeSubDomains;preload";
    # HTTP/3
    add_header Alt-Svc 'h3=":$server_port"; ma=86400';

    location / {
        client_max_body_size 1536m;
        proxy_set_header HOST $host;
        proxy_set_header X-Forwarded-Proto $scheme;
        proxy_set_header X-Real-IP $remote_addr;
        proxy_set_header X-Forwarded-For $proxy_add_x_forwarded_for;
        proxy_set_header X-Forwarded-Url $scheme://$host:$server_port;
        proxy_pass http://localhost:8080;
    }

}
启用浏览器的QUIC支持
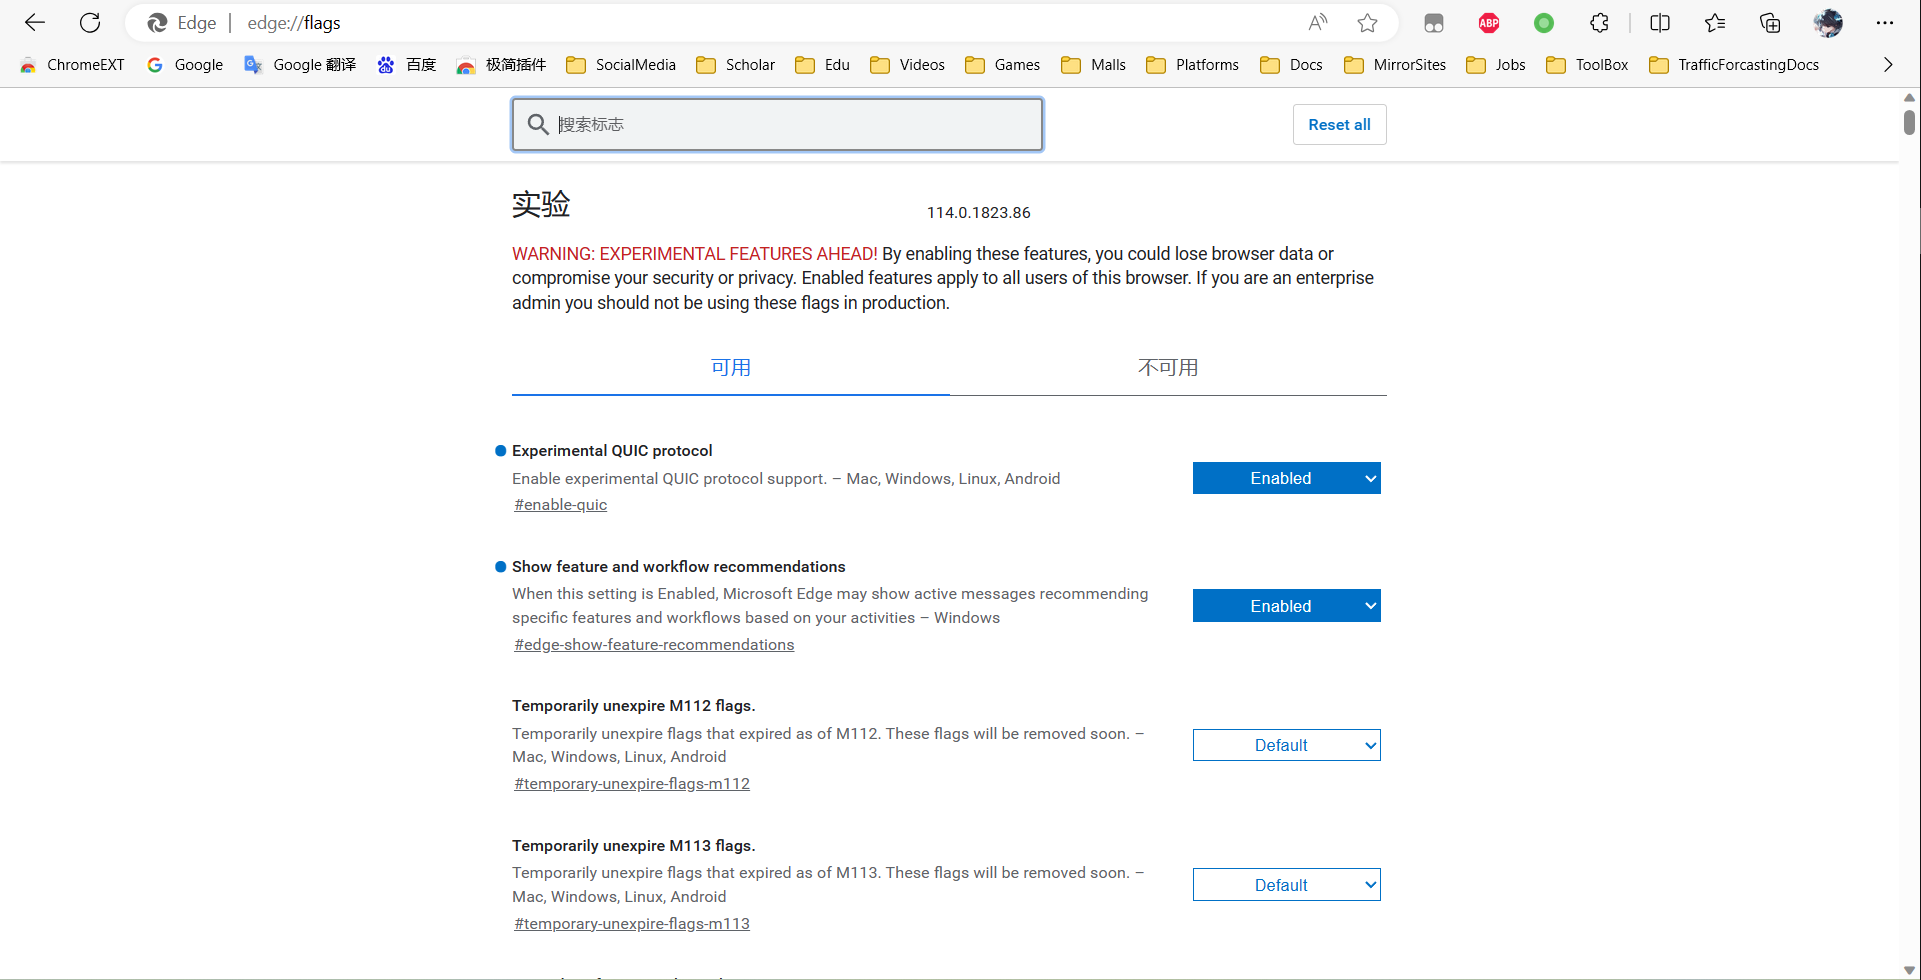
查看站点,发现已经在使用HTTP/3通信
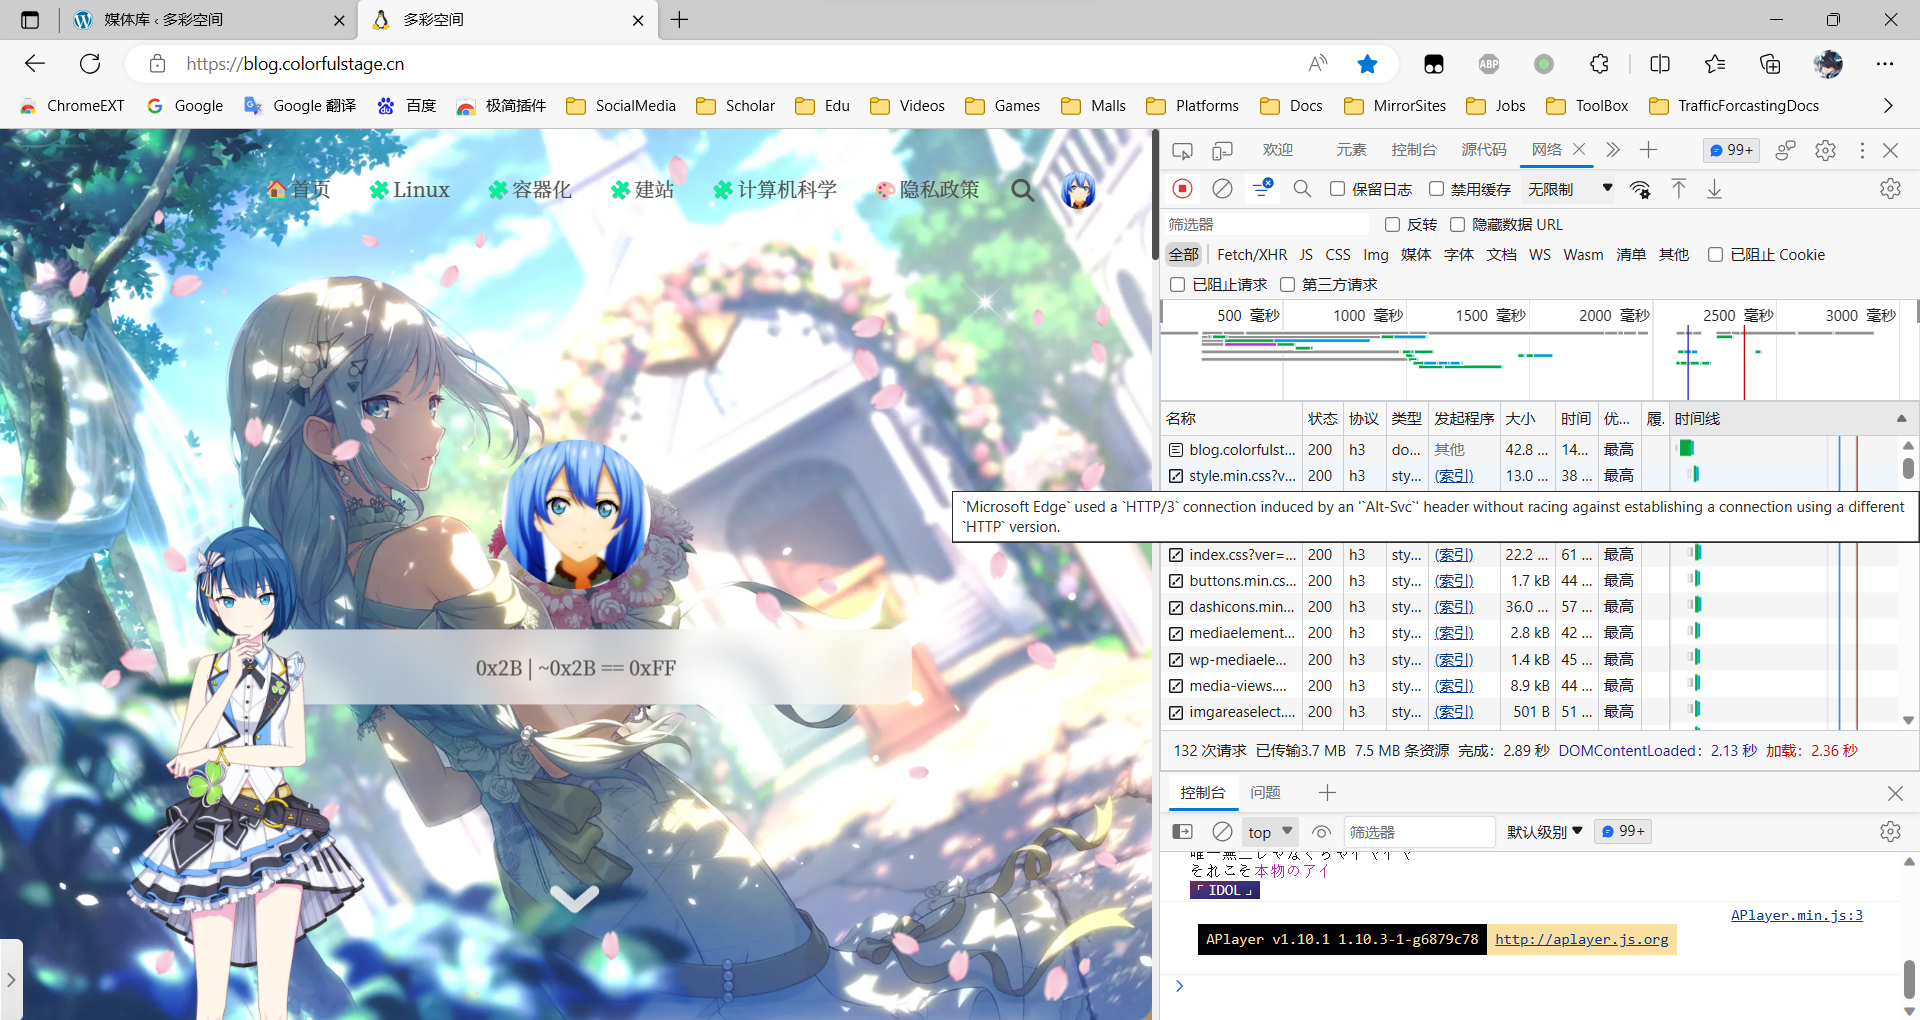
但h3有时候表现并不如h2,可能是运营商对UDP流量做了阻断。是否启用应该视网络情况而定。